Bring Your Own Database
Connect Your Existing Database with Thin
1. Introduction
If you already have an existing project, you might want to adopt Thin with an existing Postgres database. This Guide covers how to connect a Thin project to your own existing postgres database and import it's schema.
To start with this Guide, it's best to first create a new empty Thin project.
Connecting your own database is currently behind a feature flag. Conntact support@digitallyinduced.com to try it out.
2. Database Setup
Postgres policies don’t apply to the creator of a postgres table by default, so Thin require a user to create tables in migrations, etc. and a second user for accessing the data with postgres policies applied.
The first user can be the postgres user you already use to connect to your database with existing applications. The second database user needs to be set up manually and is called thin_authenticated.
Connect to your database and run the following SQL statements to create the thin_authenticated user:
-- In the following statements replace the following:
--
--   1. Replace my_user with the user name of your existing database user
--      (If you're not sure, run `SELECT user;`)
--
--   2. Replace my_database with the name of your database

-- First we create the thin_authenticated role
CREATE ROLE thin_authenticated NOLOGIN;

-- Allow my_user to switch to the thin_authenticated user
GRANT thin_authenticated TO my_user;

-- The new thin_authenticated user needs access to all databases
GRANT ALL PRIVILEGES ON DATABASE my_database TO thin_authenticated;
GRANT USAGE ON SCHEMA public TO thin_authenticated
GRANT ALL PRIVILEGES ON ALL TABLES IN SCHEMA public TO thin_authenticated;

-- All tables created in the future by my_user
-- also need to be usable from thin_authenticated
ALTER DEFAULT PRIVILEGES
    FOR USER my_user
    IN SCHEMA public
    GRANT ALL PRIVILEGES
    ON TABLES
    TO thin_authenticated;
Additionally we need to activate the UUID extension:
CREATE EXTENSION IF NOT EXISTS "uuid-ossp";
3. Switching the Database
Next we can already switch out the database provided by thin with your own:
Open the Project Settings and select
Databasein the navigation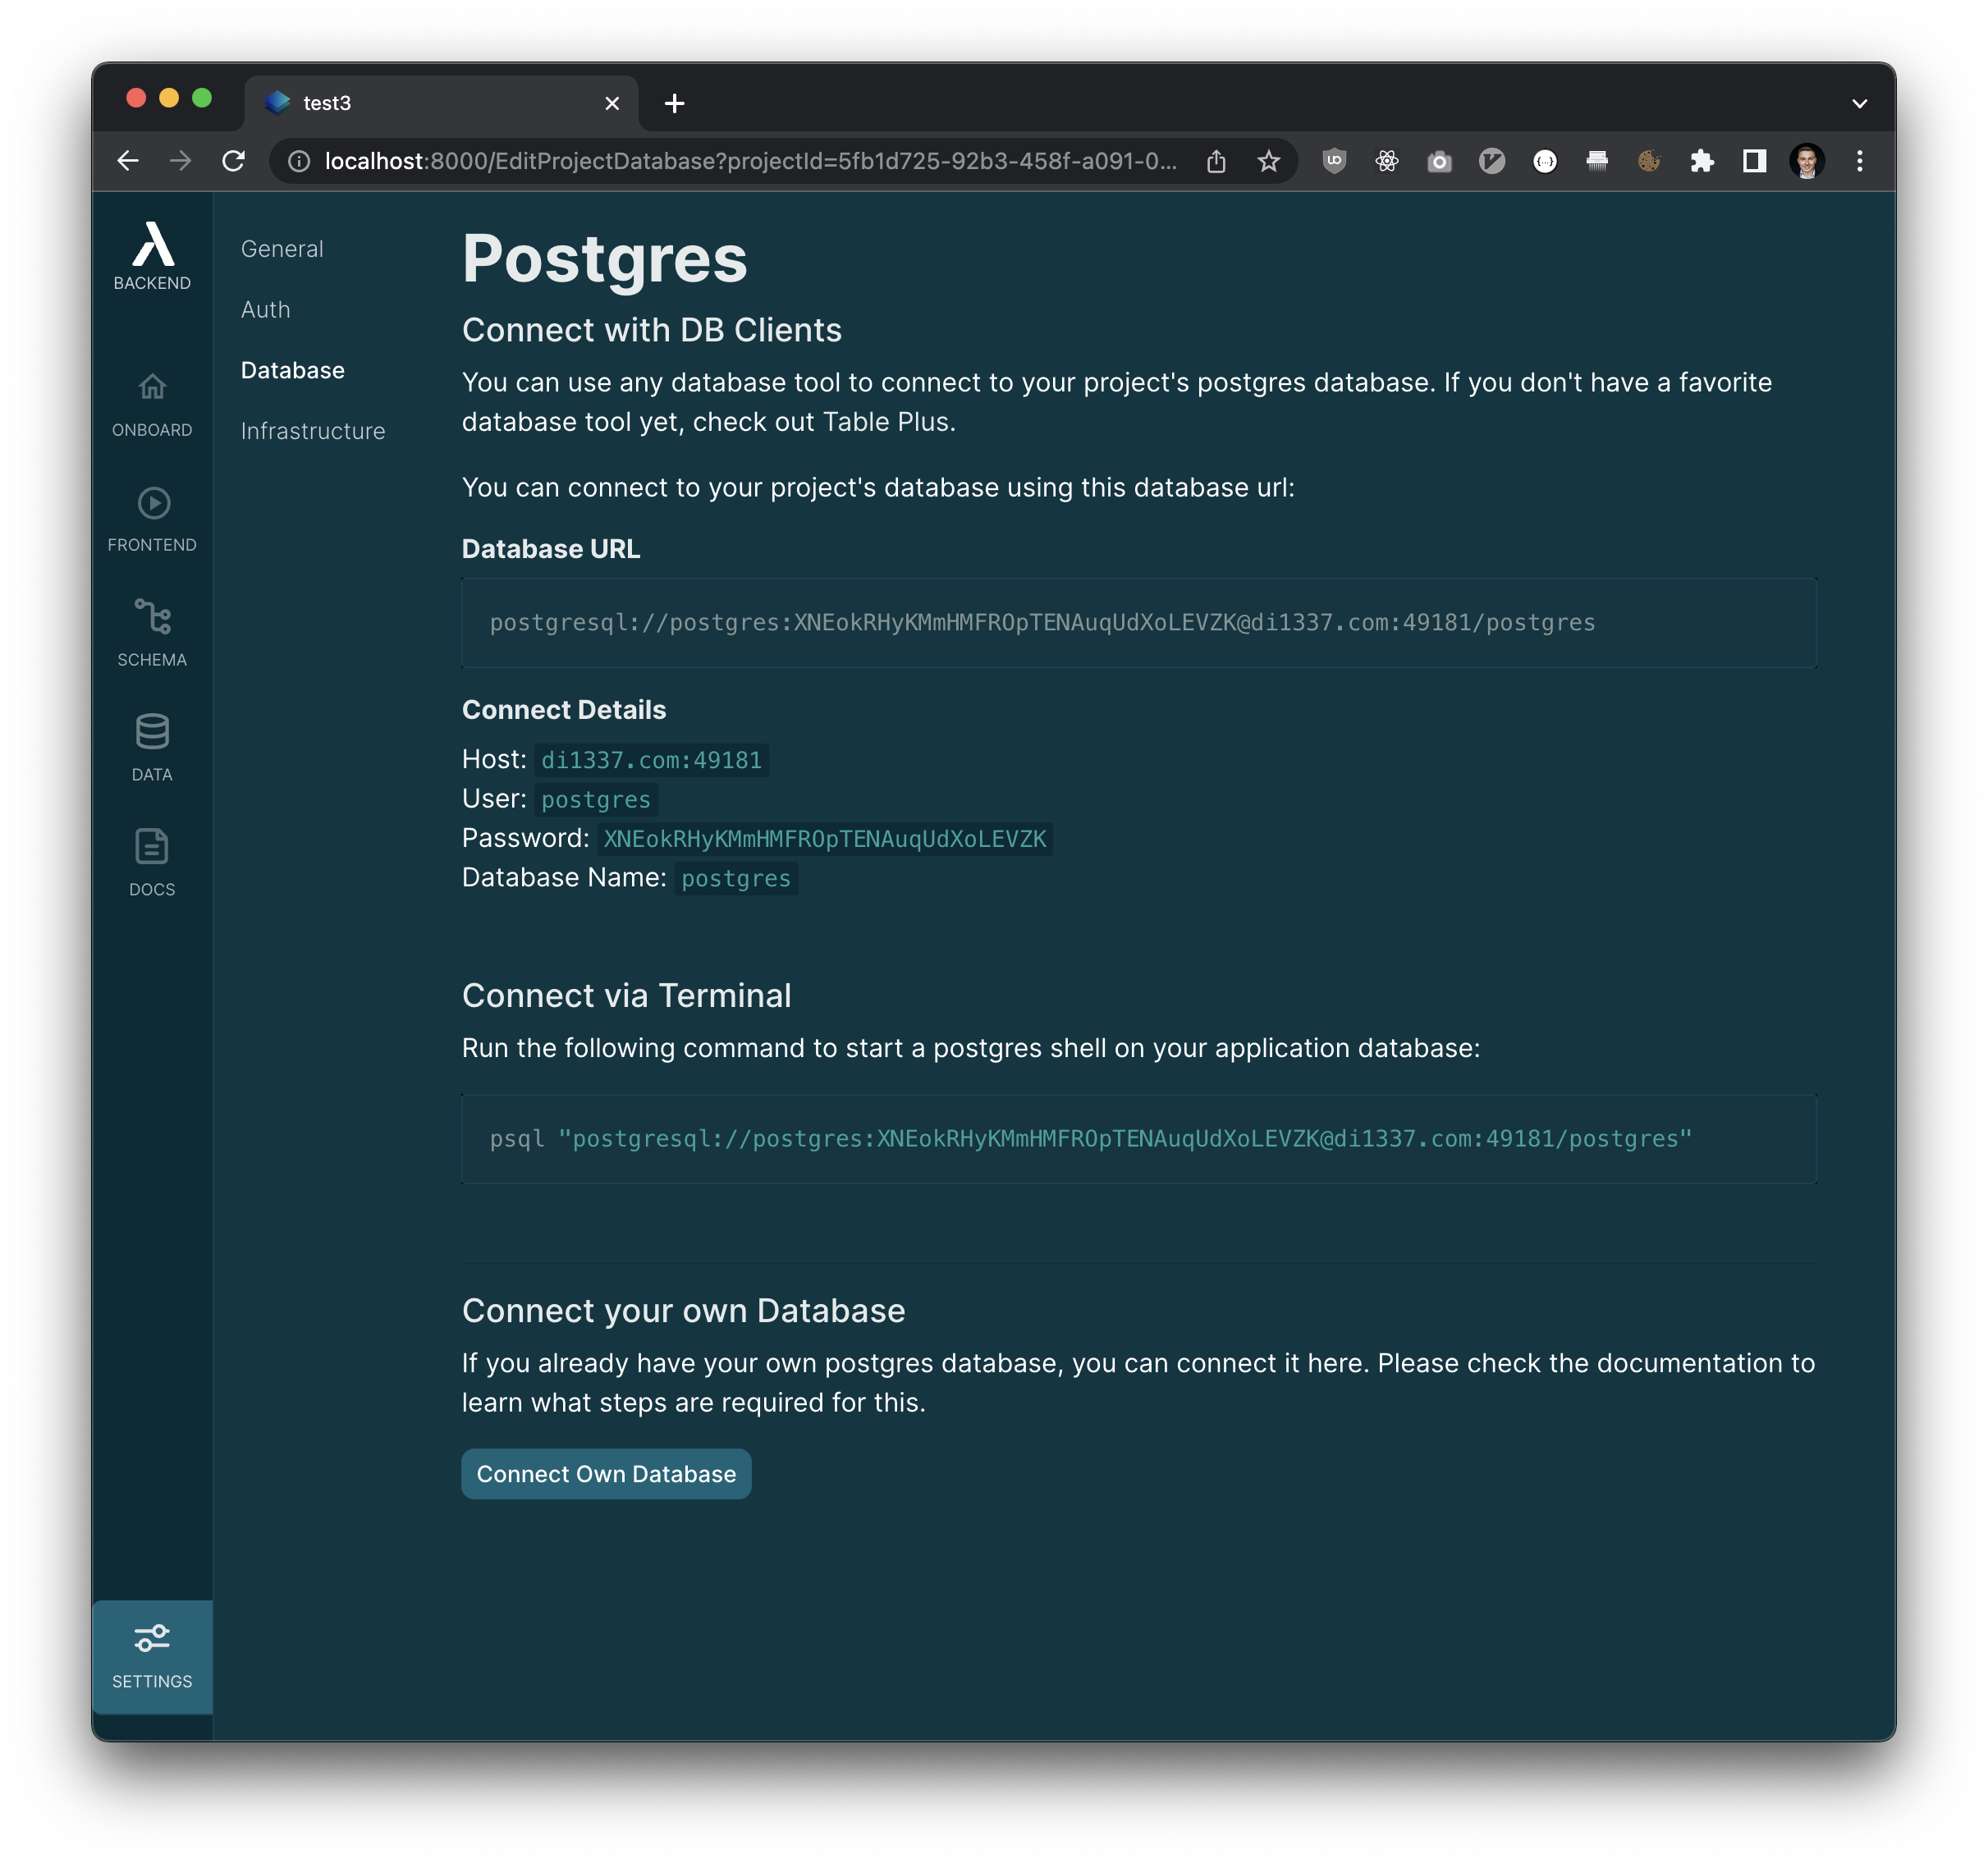
Click the
Connect Own Databasebutton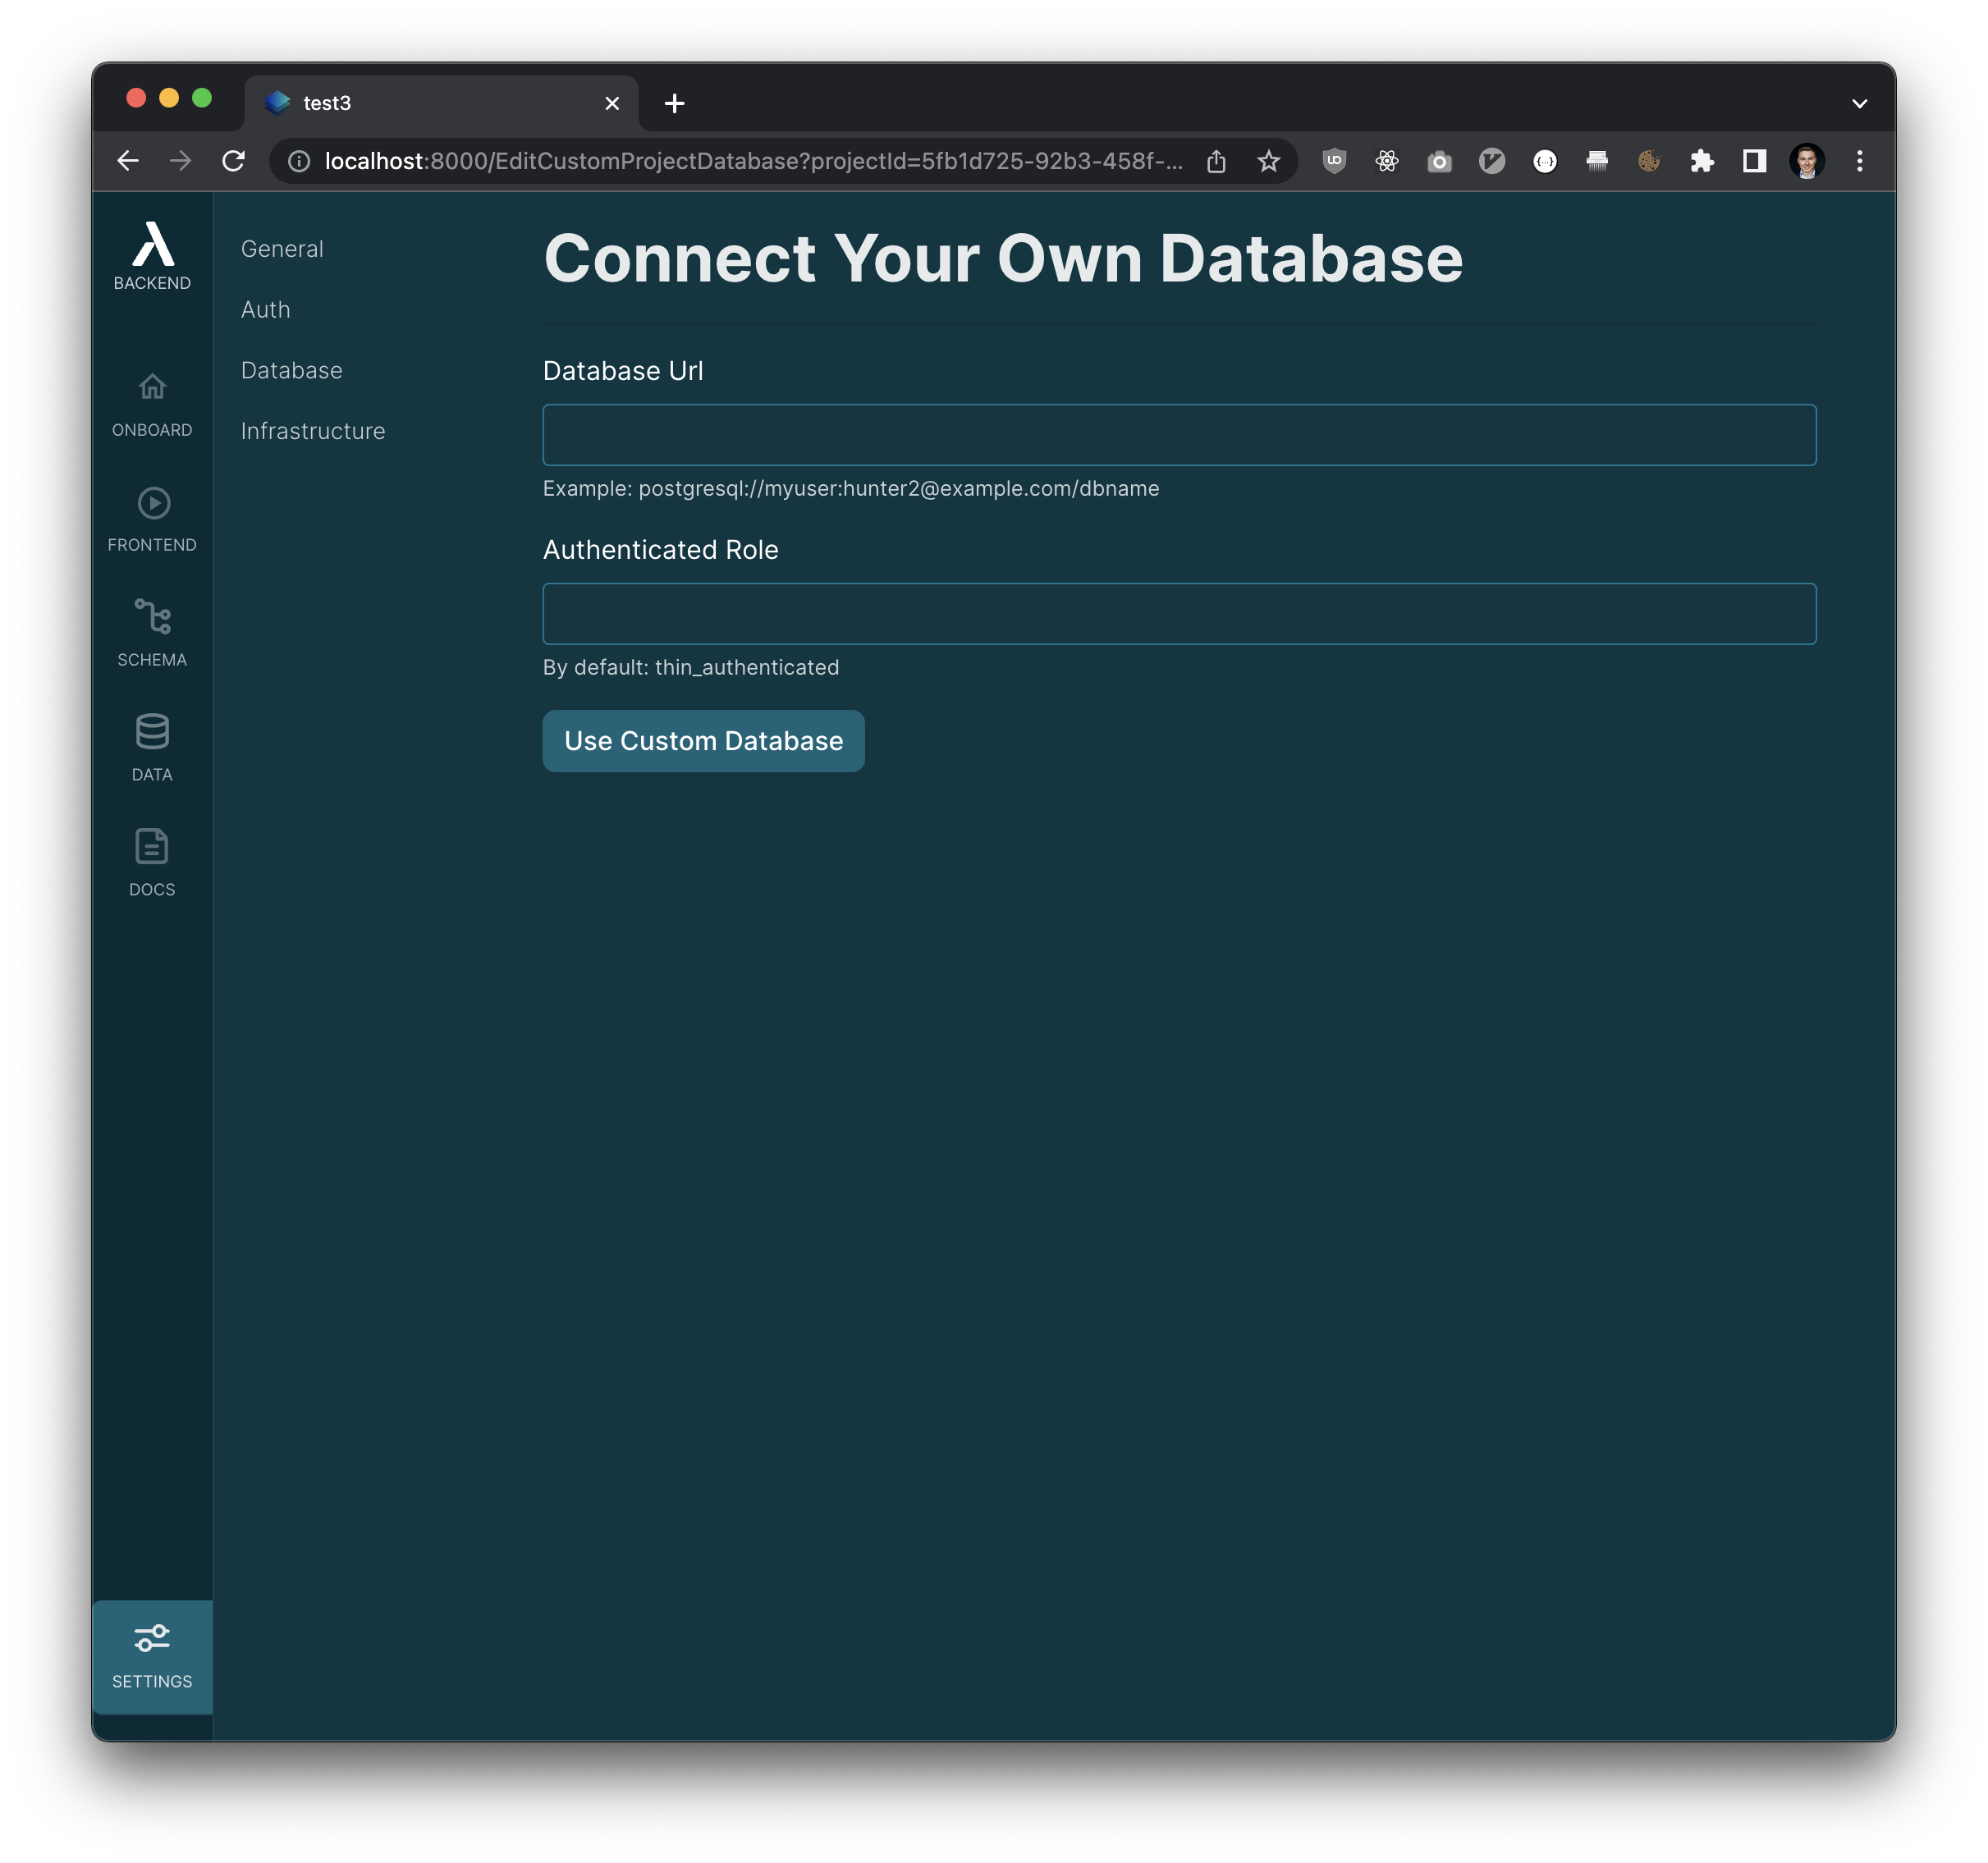
Here you can enter your database credentials:
- Enter your database url in the format
postgresql://my_user:my_password@my_host/my_database. - Set
Authenticated Role
tothin_authenticated. - Then click
Use Custom Database
to save the new database settings. Thin will try to connect to your database and will show you an error if anything goes wrong.
Now Thin is already using your own postgres server.
4. Importing the Schema
To make Thin aware about the existing tables, we need to dump the existing database schema with pg_dump and then import it into the Thin Schema Designer.
Dump the database schema into a file schema.sql:
pg_dump -s --no-owner --no-acl "postgresql://my_user:my_password@my_host/my_database" | sed -e '/^--/d' > schema.sql
Next open the schema.sql in a text editor and make the following modifications manully (will be automated in the future):
- Remove all lines in the format
SET ..; - Remove all lines in the format
SELECT pg_catalog. ... - Remove all lines in the format
COMMENT ON EXTENSION ... For each table, rewrite primary keys from this:
CREATE TABLE public.users (
    id uuid DEFAULT public.uuid_generate_v4() NOT NULL,
    -- ...
);

ALTER TABLE ONLY public.users ADD CONSTRAINT users_pkey PRIMARY KEY (id);
Into this:
CREATE TABLE public.users (
    id uuid DEFAULT public.uuid_generate_v4() PRIMARY KEY NOT NULL,
    -- ...
);
After that copy the content of schema.sql, open the Thin project, and click Code Editor
. Paste the content of schema.sql into the code editor and click save. Switch back to Schema Designer. You should now see the imported schema.
5. Adding Policies
Before you can access the tables from your frontend, you likely need to add a few policies. Follow the Policies Guide to add policies where needed.
Also don't forget to run migrations for the new policies.
6. Trying it out
Now your Thin project is connected to your custom database and can be accessed from your frontend.
If anything here went wrong, please reach out to the support.
Community
If you need any help or input, feel free to ask in the Thin Community Forum.